What is Eyebrow Mapping and Why Does It Matter for Your Beauty Routine
Eyebrow mapping is the professional technique that creates your personalized blueprint for perfect brows. It uses precise measurements based on your unique facial structure to determine exactly where your brows should start, arch, and end. If you’ve ever struggled with uneven brows or felt like something was “off” about your look, eyebrow mapping is the game-changing solution you need.
When you master eyebrow mapping, you’ll create stunning harmony between all your facial features, achieve perfectly symmetrical brows every time, and get that polished, lifted appearance that makes you look instantly more put-together.
TL;DR: Eyebrow Mapping Quick Summary
- Eyebrow Mapping is a professional technique to design symmetrical brows based on your facial features.
- It revolutionizes eyebrow shaping for waxing, threading, tweezing, or makeup application.
- A proper brow mapping tutorial uses three main points: start, arch, and tail, customized to your face shape.
- Specific techniques work best for different features, like the best eyebrow mapping techniques for small eyes.
- We provide a complete eyebrow shape guide for beginners with prep tips and essential tools.
- Face shape and brows alignment are crucial for creating your ideal brow shape.
Understanding Professional Eyebrow Mapping
Why Brow Mapping Transforms Your Look
Perfect brows don’t happen by accident – they’re strategically crafted using your natural bone structure as the foundation. Eyebrow mapping gives you that professional framework, transforming ordinary brows into stunning facial architecture. It’s the difference between brows that simply exist on your face and brows that frame, sculpt, and elevate your entire appearance. Proper eyebrow mapping ensures perfect balance, symmetry, and precise placement of your brow’s starting point, highest arch, and elegant tail.
Mastering Face Shape and Brows Alignment
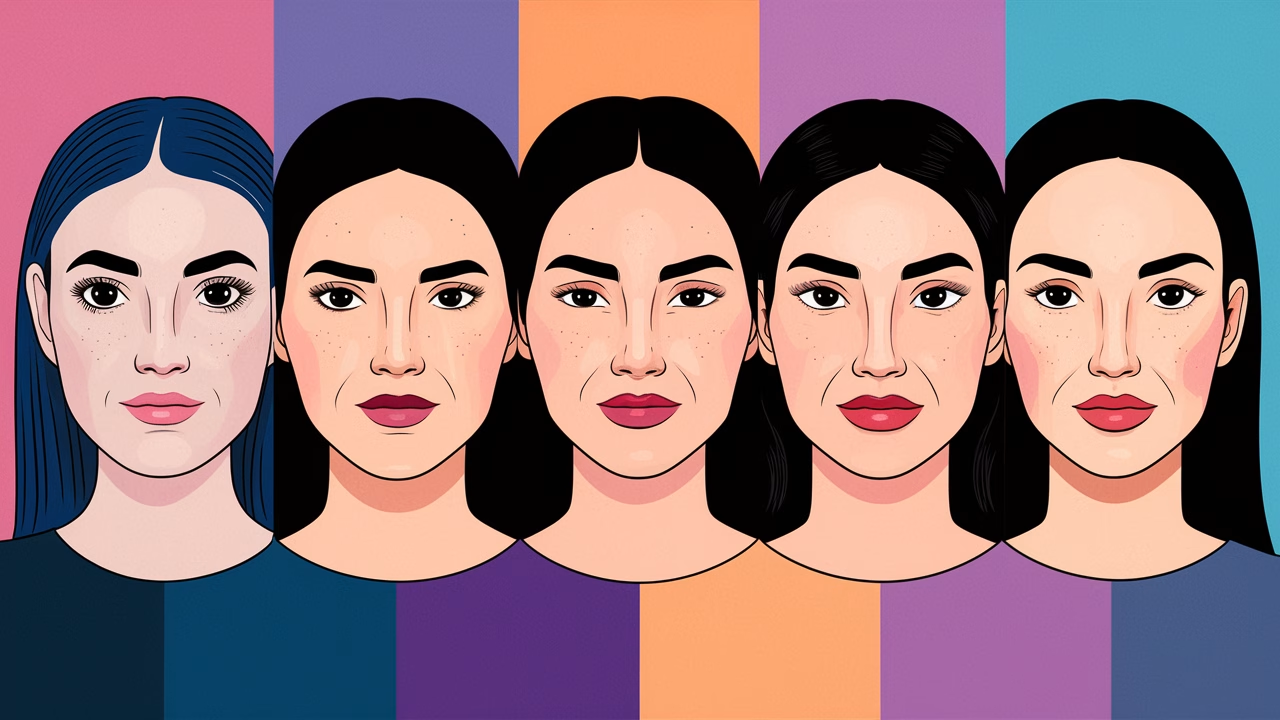
Have you ever wondered why your brows looked too heavy or sparse, even after careful grooming? The answer often lies in face shape and brows alignment. Each face shape – round, oval, heart, square, or long – requires a specific brow shape that enhances its natural proportions. Generic brow trends simply don’t work for everyone.
Eyebrow mapping solves this by measuring exactly where your brow should begin (aligned with your nostril’s outer edge), where the arch peaks (typically through your iris), and where the tail ends (aligned with your eye’s outer corner). Understanding these measurements revolutionizes your brow game. That’s why eyebrow mapping is essential – not just for beauty professionals but for anyone who wants consistently gorgeous brows.
Preparing for Perfect Brow Mapping
Essential Tools for Eyebrow Mapping Success
You don’t need an expensive toolkit to achieve professional results. These core tools will give you everything needed for flawless brow mapping:
- White or nude brow pencil for clear visibility
- Measuring tool (ruler, caliper, or string)
- Angled brush and spoolie
- Cotton swabs and makeup wipes for corrections
- Quality mirror with excellent lighting
Pre-mapping Preparation for Precision Results
Here’s what typically goes wrong: You start shaping your brows without a plan and end up over-plucking because there was no guide. Before touching a single hair, cleanse your skin thoroughly and brush brows upward with a spoolie. Mark your initial points using a nude pencil – this maintains visibility throughout the entire process. This preparation phase builds confidence and ensures consistent, professional-looking results every time.
Complete Step-by-Step Brow Mapping Tutorial
Finding Your Perfect Starting Points and Measurements
This is where the real transformation begins. Follow these precise eyebrow mapping steps:
- Step 1: Hold your pencil vertically against your nostril’s side. Where it intersects your brow marks the perfect starting point.
- Step 2: Angle the pencil through your iris center – this creates your natural arch position.
- Step 3: Tilt the pencil diagonally from your nose edge to your eye’s outer corner. This intersection marks your ideal tail end.
Creating the Perfect Arch and Tail
The goal isn’t creating dramatic arches – it’s enhancing your natural bone structure beautifully. Gentle curves complement soft facial features, while defined arches suit angular faces perfectly. Mark your points carefully but avoid extending the tail too far, as this can visually drag your eyes downward and age your appearance.
Blending and Refining Your Guidelines
Once your marks are clear, connect them smoothly using your pencil. Remember, these outlines are your roadmap – you’ll refine and perfect them with product later. Use a dry cotton swab to gently adjust any inaccuracies. This phase creates your personalized brow blueprint for consistently beautiful results.
Customizing Eyebrow Mapping for Your Face Shape
Perfect Brow Shapes for Every Face Type
| Face Shape | Recommended Brow Style |
|---|---|
| Round | High, soft arch to add structure |
| Oval | Slight angled brows with defined tail |
| Square | Strong arch to balance jawline |
| Heart | Rounded brows to soften the forehead |
| Long | Straighter brows to widen appearance |
Perfecting Your Ideal Brow Shape
Filling and Defining After Eyebrow Mapping
Now that your eyebrow mapping is complete, it’s time to bring your brows to life. Use an angled brush with powder or pencil to gently fill within your mapped areas. Start with light strokes – you can always build intensity, but removing excess product is much harder. Focus especially on sparse areas around the tail and base for balanced fullness.
Here’s a professional secret: avoid making your inner brow too square or heavy. Instead, blend pigment outward to create a beautiful gradient effect that looks naturally stunning.
Maintenance Tips for Long-Lasting Brow Perfection
Once you’ve achieved your perfect brow shape, maintain it consistently. Don’t rely solely on makeup – consider professional grooming every 3-4 weeks to preserve your eyebrow mapping structure. At home, always brush before filling and perform weekly touch-ups with tweezers. Take a photo after mapping to replicate this perfect shape in future sessions.
Cost Guide: Eyebrow Mapping and Shaping Services
| Service Level | Price Range | What’s Included |
|---|---|---|
| DIY at Home | $0 – $20 | Brow pencil, measuring tool, spoolie |
| Mid-Range Professional | $30 – $60 | Mapping, shaping (tweeze/thread/wax) |
| High-End Services | $70 – $120+ | Mapping, shaping, tinting, styling |
Frequently Asked Questions
How often should you remap your eyebrows?
Ideally, every three to four weeks or with each brow shaping session to accommodate hair regrowth and natural shifts.
Can beginners do eyebrow mapping at home?
Absolutely. With a simple measuring tool and pencil, even beginners can create balanced brows following a few basic steps.
What’s the biggest mistake in brow mapping?
Overextending the tail, which can make eyes look droopy. Stick to facial alignment points for best results.
Is mapping necessary before every brow makeup look?
Not every time, but revisiting mapping ensures consistency and balance – especially for formal or on-camera looks.
Are different mapping methods used for small eyes?
Yes. For small eyes, a higher arch opens up the gaze. Mapping should emphasize vertical lift rather than adding weight to outer brows.
Can brow mapping fix asymmetrical eyebrows?
It can improve symmetry substantially. While perfect symmetry is rare naturally, mapping guides create visual balance effectively.
What tools are best for beginners?
Start with a white pencil, a flat ruler, and a mirror under good lighting – that’s all you need to map the basics.


