Best Concealer Application Techniques for Pro Results
Applying concealer is more than just covering up; it is a strategic step in achieving a truly flawless complexion. When you learn the best concealer application techniques, you are essentially unlocking makeup artist secrets for a polished, natural look. This means understanding not just where to apply it, but how to select the right product, blend it seamlessly, and ensure it lasts all day without creasing or fading. It is about creating an even canvas that looks naturally radiant, not heavily made up.
The Basics of Concealer Application
Before diving into advanced makeup application techniques, it is essential to understand the fundamentals. Concealer comes in various formulations, each with its own benefits. Liquid concealers are versatile, offering light to full coverage and a natural finish, suitable for most skin types, especially under eyes. Cream concealers provide medium to full coverage and are excellent for spot treating blemishes and discolorations, often with a slightly thicker consistency. Stick concealers offer full, opaque coverage, perfect for significant imperfections but can sometimes look heavier if not blended well. Understanding these types is the first step in mastering cover-up tricks.
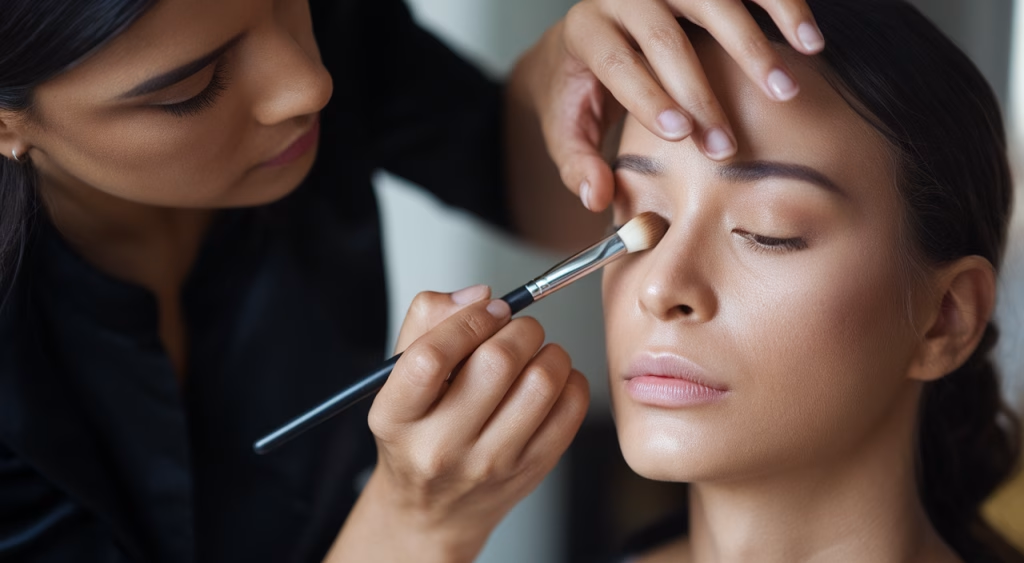
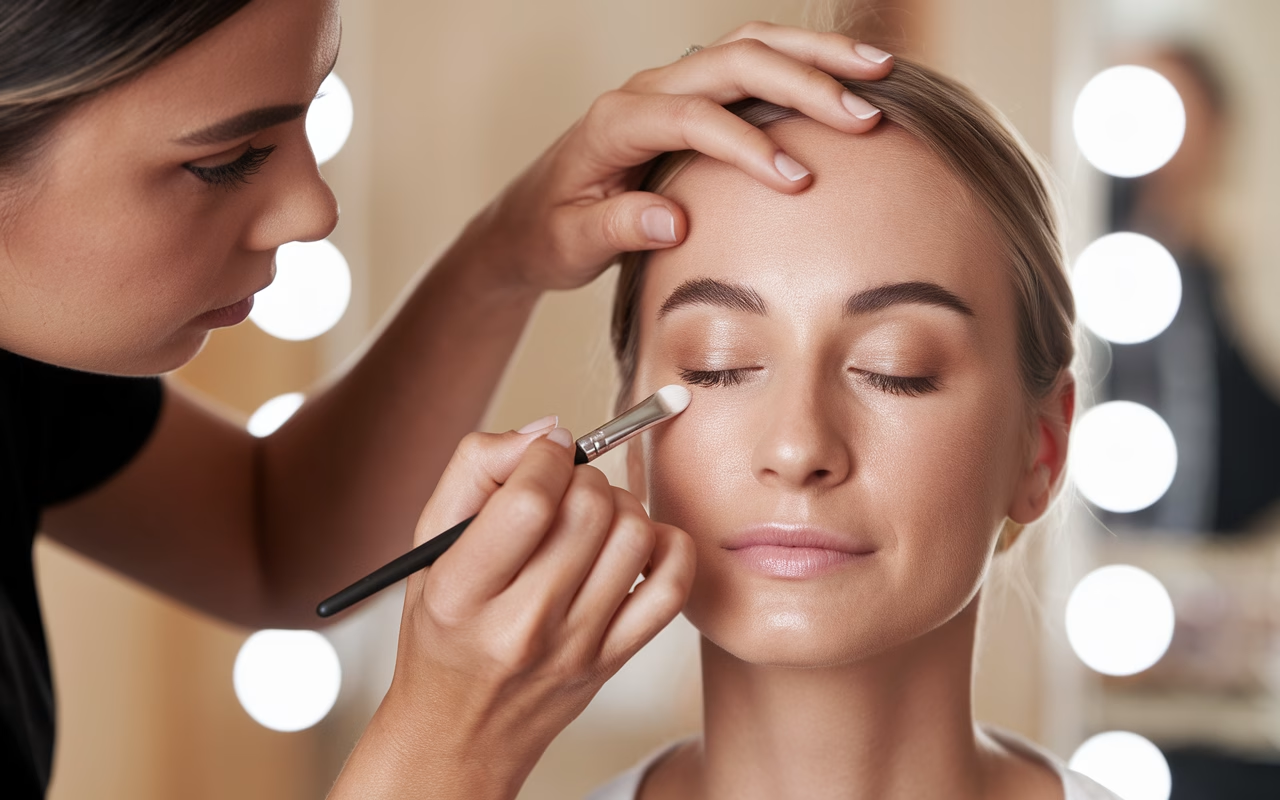
The tools you use also play a crucial role. A small, tapered brush is ideal for precise application on blemishes, allowing you to pinpoint areas with maximum control. A damp beauty sponge is excellent for blending, especially under the eyes, to create a smooth, airbrushed finish. For those who prefer a more natural, sheer application, clean fingertips can warm the product, helping it melt into the skin beautifully. It is about finding what works best for the product and the area of the face you are working on.
A critical basic is also knowing the purpose of concealer. It is not foundation. Its role is to correct, brighten, and even out specific areas. Identifying whether you need to neutralize redness, brighten darkness, or simply cover a blemish will guide your product choice and application method. In practice, you will notice that selecting the correct type for the job makes a world of difference in the final outcome.
Choosing the Right Concealer Shade
Selecting the correct concealer shade is paramount to achieving a flawless finish. This is where many individuals make mistakes, leading to a visible demarcation or an unnatural look. For under-eye areas, the general rule is to choose a shade one to two shades lighter than your natural skin tone. This helps to brighten the area and counteract darkness, creating a more awake and refreshed appearance. However, going too light can make the under-eye area look grey or ashy, so a subtle brightening effect is the goal.
For blemishes, redness, or other skin imperfections, your concealer should precisely match your skin tone. This ensures the imperfection is truly covered without drawing extra attention to the area. If you use a shade that is too light, it will highlight the blemish rather than conceal it. If it is too dark, it will create a visible spot.
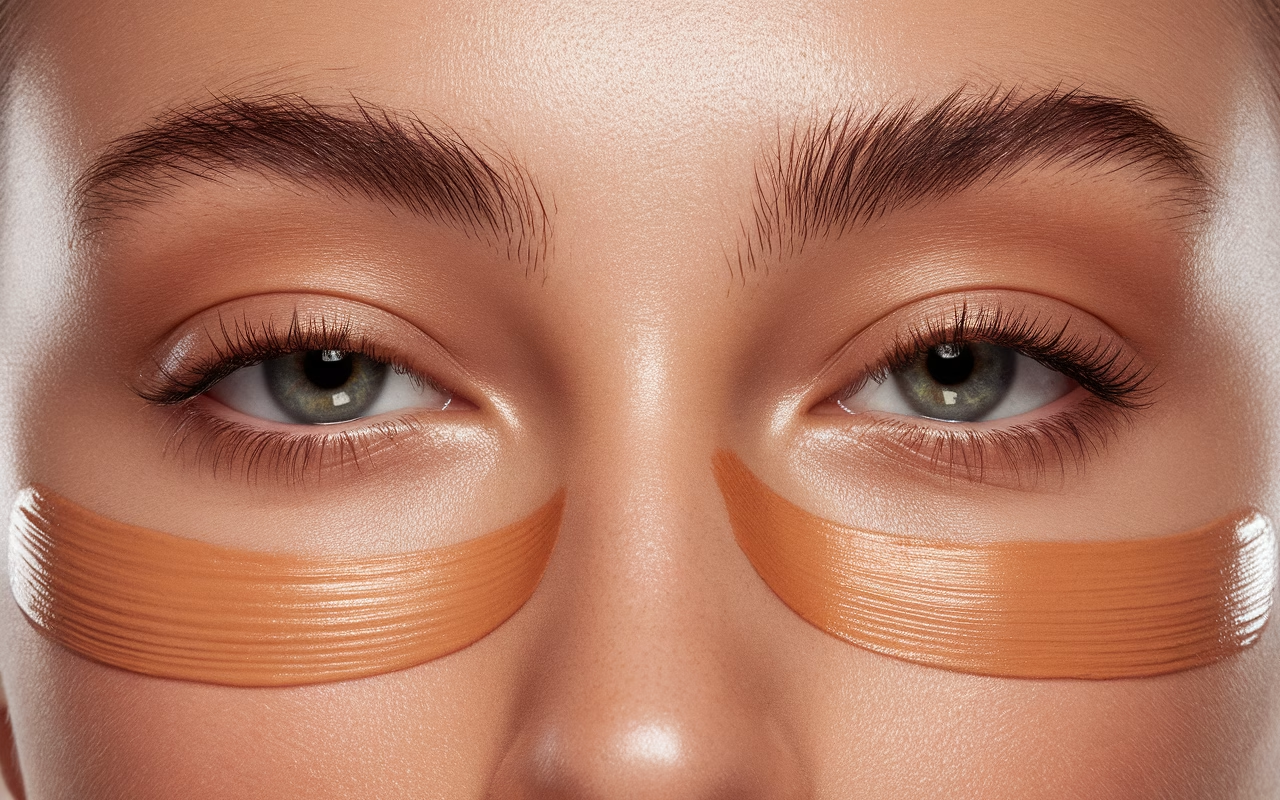
Color correcting is another one of the makeup artist secrets that can elevate your concealer game. For dark under-eye circles, a peach or orange color corrector can neutralize blue or purple tones before applying a skin-toned concealer. For redness, a green color corrector works wonders. Always apply color corrector sparingly and blend it out before layering your regular concealer on top. What this means for you is a more effective cover-up that looks natural, not layered. Pay attention to your skin undertones to make the best choice. Are you warm, cool, or neutral? This will inform your selection for both brightening and correcting.
Step-by-Step Guide to Concealer Application
Ready to apply concealer like a true pro? Follow these detailed steps for a flawless complexion:
- Prepare Your Skin: Always start with clean, moisturized skin. A well-hydrated base ensures smoother application and helps prevent creasing. You can also use an eye cream to plump the under-eye area before applying any product.
- Apply Foundation (Optional but Recommended): If you use foundation, apply it first. This creates an even base and often reduces the amount of concealer you will need, allowing you to use less product overall for a more natural look.
- Target Under-Eye Darkness: For under-eye circles, apply a small amount of concealer in a V-shape or an inverted triangle shape directly under the eye, extending down towards the cheekbone. This method brightens the entire area and blends seamlessly into your foundation.
- Address Blemishes and Redness: For individual blemishes or areas of redness, apply a tiny dot of concealer directly on the imperfection. Do not smear it; instead, use a precise application.
- Blend, Blend, Blend: This is arguably the most critical step for flawless concealer. For under-eyes, use a damp beauty sponge or your ring finger to gently tap and press the product into the skin. Avoid dragging or rubbing, as this can move the product around. For blemishes, use a small brush or a clean fingertip to lightly pat the edges of the concealer, feathering it into the surrounding skin. The goal is to make the concealer disappear into your skin, leaving no visible lines.
- Set Your Concealer: To ensure long-lasting coverage and prevent creasing, lightly dust a translucent setting powder over the concealed areas. Use a small, fluffy brush or a damp sponge to press the powder into the skin. This step is especially important for under-eyes, helping to lock the product in place.
- Final Touches: After setting, you can proceed with the rest of your makeup routine. Remember, less is often more with concealer. Build up coverage gradually rather than applying too much at once.
TLDR
To master the best concealer application techniques and achieve a truly flawless complexion, start by choosing the right type of concealer for your needs. Liquid concealers are great for under-eyes, while cream or stick options work well for blemishes and skin imperfections. Shade matching is crucial; select one to two shades lighter for brightening under-eyes, and an exact match for spot concealing. Incorporate color correcting for severe discoloration, using peach for dark circles and green for redness, always applying sparingly before your main concealer.
The application process involves preparing your skin with moisturizer, applying foundation first if desired, then strategically placing concealer in an inverted triangle under the eyes and directly onto blemishes. Blending is key: use a damp beauty sponge or your ring finger for gentle tapping and pressing, ensuring no harsh lines. Finally, set your concealer with a translucent powder to prevent creasing and extend wear. These makeup artist secrets will help you achieve a professional, long-lasting finish, making your cover-up tricks appear seamless and natural.
Pro Tips for a Flawless Finish and Troubleshooting
Now that you have the basics down, let us dive into some pro tips for flawless concealer application that will elevate your technique even further. One common concern is creasing under the eyes. To avoid this, ensure your eye area is well-hydrated, apply a minimal amount of product, and blend thoroughly. After blending, lightly press a small amount of setting powder with a damp sponge. If creases appear later in the day, gently tap them out with a clean finger before applying more powder. Another expert tip is to layer sheerly. Instead of one thick layer, apply two very thin layers, allowing each to set slightly. This builds coverage without looking heavy or cakey.
For blemishes, apply concealer after foundation, then lightly press setting powder. If the blemish is very red or raised, avoid over-blending, which can remove coverage. Instead, gently stipple the product onto the area. Here is what often happens: people apply too much concealer, thinking it will cover more. In practice, you will notice that a small amount, precisely placed and well-blended, yields far superior results than a thick layer. When using concealers for areas like around the nose where redness often occurs, remember to blend the edges outwards to seamlessly integrate it with your foundation. Mastering these makeup artist secrets will give you confidence in your ability to handle any skin imperfection.
Final Thoughts
Achieving a truly flawless complexion with concealer is within your grasp. By understanding the different types of concealers, selecting the right shades for your needs, and applying them with precision and care, you can transform your makeup routine. Remember that practice makes perfect, and experimenting with various tools and techniques will help you discover what works best for your unique skin. Embrace these pro tips for flawless concealer application, and you will soon be applying concealer like a seasoned makeup artist, enhancing your natural beauty with confidence and ease.
Frequently Asked Questions
What is the best way to choose the right concealer shade for under my eyes?
For under-eye areas, choose a concealer shade one to two shades lighter than your natural skin tone to brighten and counteract darkness. Avoid shades that are too light, which can appear ashy.
How do I prevent concealer from creasing under my eyes?
To prevent creasing, ensure your under-eye area is well-hydrated before application. Apply a minimal amount of product, blend it thoroughly, and then lightly set it with a translucent powder using a damp sponge.
Should I apply concealer before or after foundation?
It is generally recommended to apply foundation first to create an even base. This allows you to use less concealer and ensures you only target areas that still require extra coverage.
What is color correcting and when should I use it?
Color correcting uses specific colored concealers to neutralize skin discolorations before applying skin-toned concealer. Use a peach or orange corrector for dark under-eye circles and a green corrector for redness.
Can I use concealer to contour my face?
Yes, you can use concealer for light contouring. Choose a shade two to three shades darker than your skin tone for contouring and a shade two to three shades lighter for highlighting, applying strategically and blending well.
What are common mistakes people make when applying concealer?
Common mistakes include choosing the wrong shade, applying too much product, not blending adequately, and failing to set the concealer with powder, which can lead to creasing or fading.