Struggling with winged eyeliner? Here’s how to finally master it
Winged eyeliner is one of the most iconic—yet challenging—makeup techniques to master. Many beginners feel overwhelmed by the symmetry, angles, and endless product choices. But what if you could finally learn an easy way to draw the perfect flick without frustration or raccoon eyes? Let’s break it down.
- Easy Start: Learn how to prep your eyelids so liner doesn’t smudge or crack.
- Foolproof Steps: Use beginner-friendly layering and mapping techniques to create the perfect wing.
- Product Picks: Know which types of eyeliner work best for stable application.
- Fix It Fast: Learn how to troubleshoot uneven wings and messy lines like a pro.
How to Prep Your Eyes for Winged Liner
Prepping your eyes may seem like an extra step, but believe me—it makes all the difference. An unprimed eyelid is like trying to paint on a wet canvas. Not ideal, right?
Why Eyelid Prep Matters
Ever notice how eyeliner sometimes smudges or skips? That’s usually due to oily or uneven lids. A well-prepped eye provides a smooth, dry surface that grips the product and keeps your lines clean all day.
- Step 1: Gently cleanse your eyelids to remove oils or leftover skincare.
- Step 2: Apply a matte finish eye primer or a concealer. This helps neutralize discoloration and keeps the liner from transferring.
- Step 3: Lightly dust translucent powder over the lid to remove any tackiness—think of it like setting your canvas.
Bonus tip: If you have deeper creases or hooded lids, prepping with primer is especially important to prevent transfer into your crease throughout the day.

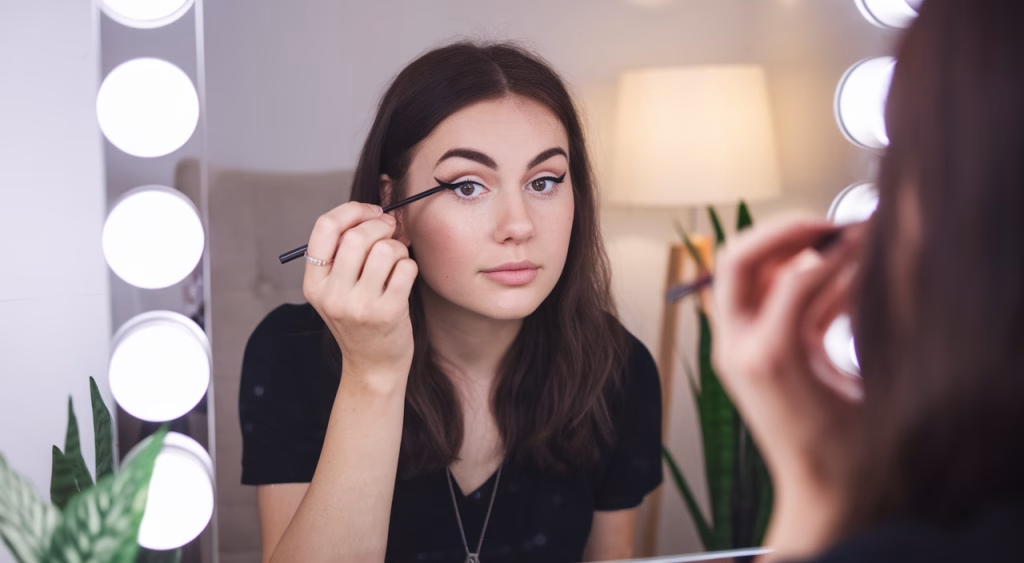
Step-by-Step Guide to Creating the Perfect Wing
Let’s get to the fun part: actually drawing your wing. This winged eyeliner tutorial was built for absolute beginners but leaves room for experimenting. Remember—nobody nails it perfectly the first time.
Mapping Your Wing
Here’s a technique we always teach in makeup tutorials: imagine your wing as a continuation of your lower lash line, extending toward the tail of your eyebrow.
- Dot Method: Place a small dot where you want the tip of your wing to end. This gives you a visual guide.
- Anchor & Drag: Starting at the outer corner of your eye, lightly drag your liner toward the dot.
- Fill In: Connect the outer wing to your upper lash line and fill in the triangle shape you created.
Use short, soft strokes—not one giant swoosh. Like sketching a drawing, your control increases in small movements.
Choose Your Liner Style
| Type | Control Level | Best For |
|---|---|---|
| Pencil | High | Smokier, softer wings |
| Gel with Brush | Medium | Precision and long wear |
| Felt Tip Pen | Moderate | Beginner control, less intense lines |
| Brush Tip Liquid | Lower | Crisp, bold wings |
Product Recommendations for Long-Lasting Results
Your artistry deserves tools that won’t flake, fade, or smudge by noon. Finding products that fit your eye shape and skill level can make or break your application.
Best Products for Creating Winged Liner
For beginners, felt-tip or gel eyeliners tend to offer better control. They’re less runny and allow you to build your shape more gradually.
- Look for waterproof or smudge-proof formulas to lock in your look.
- A brush or felt tip with a sharp, flexible point allows more precision.
- Opt for highly pigmented products so you don’t need to trace twice.
And don’t forget your supporting cast: angled brushes, cotton buds for cleanup, and micellar water for mistakes.
Cost Guide: How Much Should You Spend?
You don’t need a luxury budget to achieve a great wing. Here’s a look at product ranges to help you invest wisely:
| Budget | Price Range | What You Get |
|---|---|---|
| Low-End | $5–$12 | Basic felt-tip or pencil liners, great for practice |
| Mid-Range | $13–$25 | Better pigment, waterproof options |
| High-End | $26+ | Luxury formulas, ultra-long wear, and pro precision |
Troubleshooting Tips for Common Winged Liner Mistakes
What if your wings are wobbling or not matching? Breathe—we’ve all been there. Here’s how to fix those pesky errors with our essential makeup tips.

Wing Not Even?
Hold a small handheld mirror below your chin and look down into it. This gives you a stable lid and a full view of both eyes—the key for symmetry.
Too Thick?
Use an angled brush dipped in micellar water to carve back into the wing and reshape it. Think of it as an “undo” function for eyeliner.
Skipped or Gappy Line?
This usually happens when eyeliner skips over uneven skin or powder. Gently pull your lid taut and trace again, or layer over with a matching black eyeshadow to smooth gaps.
Smudge-Proofing
Use a black eyeshadow to set the liner or apply a setting spray over your completed makeup look to lock everything in place.
Final Thoughts
Creating the perfect wing doesn’t require a steady hand or years of practice—it just takes the right guidance, tools, and a little patience. Like any skill in makeup tutorials, it’s all about experimenting, correcting, and learning as you go. With this winged eyeliner tutorial, you’ll have the confidence to tackle anything from subtle daytime flicks to dramatic cat eyes. So grab that liner—pencil, gel, or liquid—and let your wings fly free.
Frequently Asked Questions
- What are the rules for winged eyeliner? Stick to your natural eye shape, map the wing direction carefully, and build it slowly in layers.
- How do I fix a messed up wing without redoing everything? Use a thin brush with makeup remover or a Q-tip to clean and sharpen edges without starting over.
- What’s best for hooded eyes? Gel or felt-tip liners with transfer-resistant formulas work best to avoid smudging onto the crease.
- Can beginners use liquid liner? Absolutely! Just opt for a pen-style liquid liner with a steady grip and build slowly.
- Is it okay to stretch my eyelid while applying? Lightly stretching can help, but don’t overdo it—relax your eye afterward to check real-world symmetry.
- What if my eyeliner doesn’t stay put? Eye primers and setting sprays help. Also make sure to avoid oily creams near the eyelids before application.
- How can I practice without wasting products? Practice first on the back of your hand or use a washable practice liner before committing.